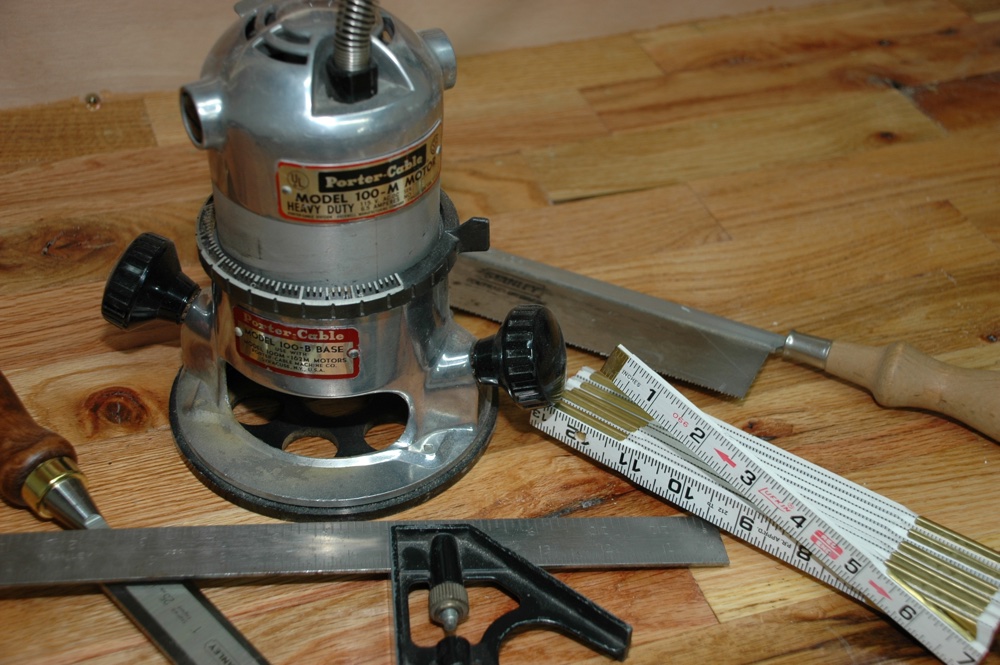
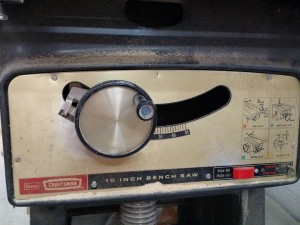
It all started with a saw…an early seventies Craftsman contractor table saw.
I had dabbled with woodworking for years. My Dad, and his Dad, and his dad before him had all been born with the gift of taking a pile of boards and turning them into something functional. It really didn’t seem to matter the scale of the project, whether a bunk bed for one of their children or an entire house, my forefathers were skilled craftsman. At a very young age, I caught the same bug. To this day I still have, and use, the 12 oz. hammer my Dad bought me so that I could help him install the decking of a house when I was only 11 years old. I was one of the only kids in my class that took wood shop in school beyond the required years. My home still displays items I made at home as a kid with nothing more than a hammer, a circular saw, and a bottle of wood glue.
When I was finally able to get my own home, I continued to dabble in woodworking, making various pieces of simple furniture for our home and for the occasional gift. My shop was nothing more than my garage. My tools were predominantly carpentry tools used to support remodeling projects for myself and others. I slowly acquired some relatively inexpensive wood working-ish tools. Emphasis on the ‘ish’. I had a jig that attached to my router to make biscuit joints. I had a straight edge I’d clamp to panels in lieu of a table saw. A $29 jig saw stood in for a proper band saw for cutting less than straight lines. Given time and financial constraints, these make-shift tools had to suffice for several years of projects.
 A good friend of mine grew up about an hour from where I was living, and we’d often use his parents’ home as a base for many of our outdoor activities. His dad was also a carpenter, handyman, and hobby woodworker. He had a barn full of tools he had collected over the years…and his basement was set up for woodworking, with a nice old Craftsman table saw as the centerpiece of his shop. I always enjoyed talking ‘shop’ with him when we visited. He’d ask me questions about how I would build something, sometimes out of curiosity, but other times I think he was testing me to see if a young smart alec IT guy actually knew anything about building. I think I passed the test most days. After a decade of getting to know him, his time on earth came to an all too early end…leaving a hole in the lives of his friends and family and a void in the visits to my friend’s homestead.
 Some time later, I was given the opportunity to become the next caretaker of his trusty Craftsman Table Saw. For anybody that has ever done any research on the interwebs, the American made Craftsman Contractor saws have been the workhorse of many a hobby woodworker for many years. I put the saw in my cluttered basement with the intent of one day building a proper wood shop that would be a fitting home for it.
Far too many years later, my basement was still cluttered and the saw was still sitting there, collecting dust. It was time to do something about it.
Planning a woodworking shop can be a fun, but frustrating, activity. You either have to work with the space you have, or you have to create a new space. Having watched Norm and the New Yankee Workshop for many years, a nice New England Barn was my workshop of choice…but my budget disagreed. So I started to look at the only space I had to work with, my basement.
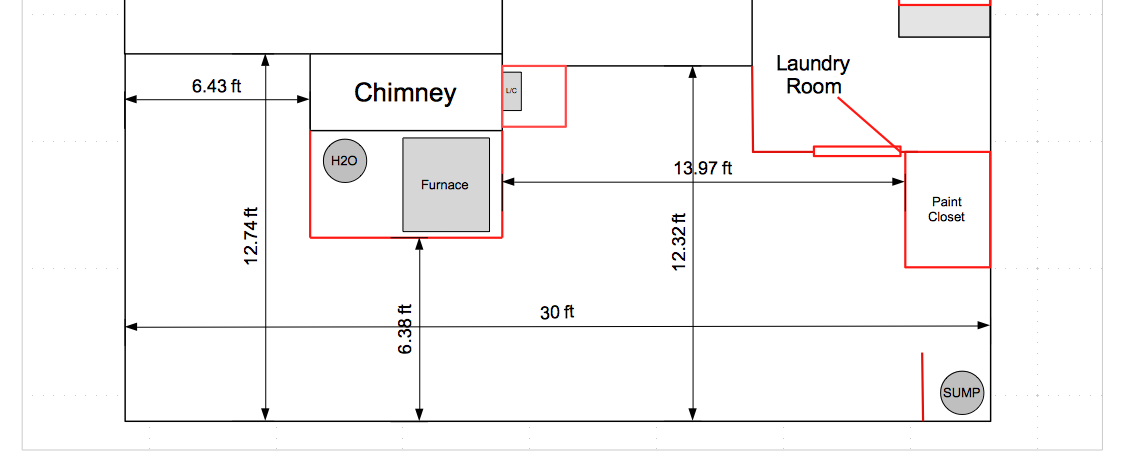
About half of my basement is dedicated to things other than making sawdust. What was left was an area about 30’ long by 12’ wide….but interrupted by a very large Chimney, water heater, and furnace in the middle of the space. After doing all the math, it looked like I would be able to salvage about 275 square feet for a workshop space. Definitely not the New Yankee Workshop, but still workable.
To make this space work there were a few things I had to address…
- Getting enough power for lights and outlets
- Keeping things dry
- Containing dust
- Making things bright
- Access to get lumber in and furniture out
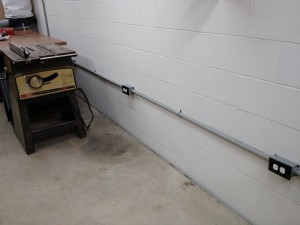
To get sufficient power to the shop, and to prevent running out of room in my main service panel, I put a 100AMP subpanel in the shop area. I’m no electrician, so my only advice here is to get some help from someone who is. I ended up running two switched lighting circuits, two 20 AMP outlet circuits to power my tools, and a dedicated 20 AMP circuit for a dust collector. At this point, all my tools run on 110V, so I did not need to run any 220V circuits. It helps to know your expected tool layout as you plan your wiring so that you have lights and outlets where you need them. Fortunately, since most basements have unfinished ceilings, running extra wire to fix something you may have missed is relatively easy.
 Basements tend to be damp. To minimize that problem I painted the block walls with Dry-Lok and put in a dehumidifier. It has been cold and dry here in upstate New York, so this spring will be the real test.
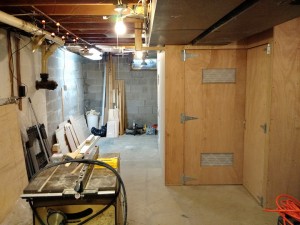
Another problem to tackle was dust control. I definitely planned to use a dust collector and a ceiling mount air cleaner, but having the furnace exposed to all of the shop dust, was not only a potential fire hazard, but a likely source of dust being spread through the rest of the house. After checking with my local furnace guys for required clearances and air flow, I planned to box in the furnace and water heater, making sure that I designed the enclosure with adequate access for service and cleaning. To get a sufficient source of fresh air, I cut 4 large openings in the access doors and covered them with furnace filters to allow air to flow, but not saw dust.
Basements tend to be dark. The white Dry-Lok on the block walls certainly helped make things feel brighter, but the dozen fluorescent light fixtures added the necessary light — so bright I can probably get a jump start on my spring planting if I’m so inclined.
Getting large items up and down basement stairs can be a challenge. At the same time I was designing my shop, I was finishing off our laundry area, which is where the stairs enter the basement. I designed the area to support maneuvering 4’x8’ sheet goods. I’m able to bring longer boards through a basement window, eliminating the need to haul them through the house and laundry area. I did price out a Bilco Door setup to make basement access easier, but the $6,000 price tag made that less appealing.
Every woodworker’s needs are different. The basement setup that I have may not work for all shops, but for a hobby woodworker, it seems sufficient. With some careful planning, it can actually be quite efficient.
Next month, I will talk about my tool layout and cover some of the actual equipment that outfits my shop.