I’ve been told that no matter how big you build your workshop, it won’t be big enough and you’ll regret not building bigger. Going into my workshop project, knowing ahead of time that space was at a premium, I had conceded to the fact that regret was inevitable. But, given my options, it was either regret or nothing at all…and I chose regret.
Planning a workshop with limited square footage takes some creative thinking. It helps to know what types of projects you’ll be working on, but you definitely want to plan with flexibility in mind, because you never really know what you may be inspired to build in the future.
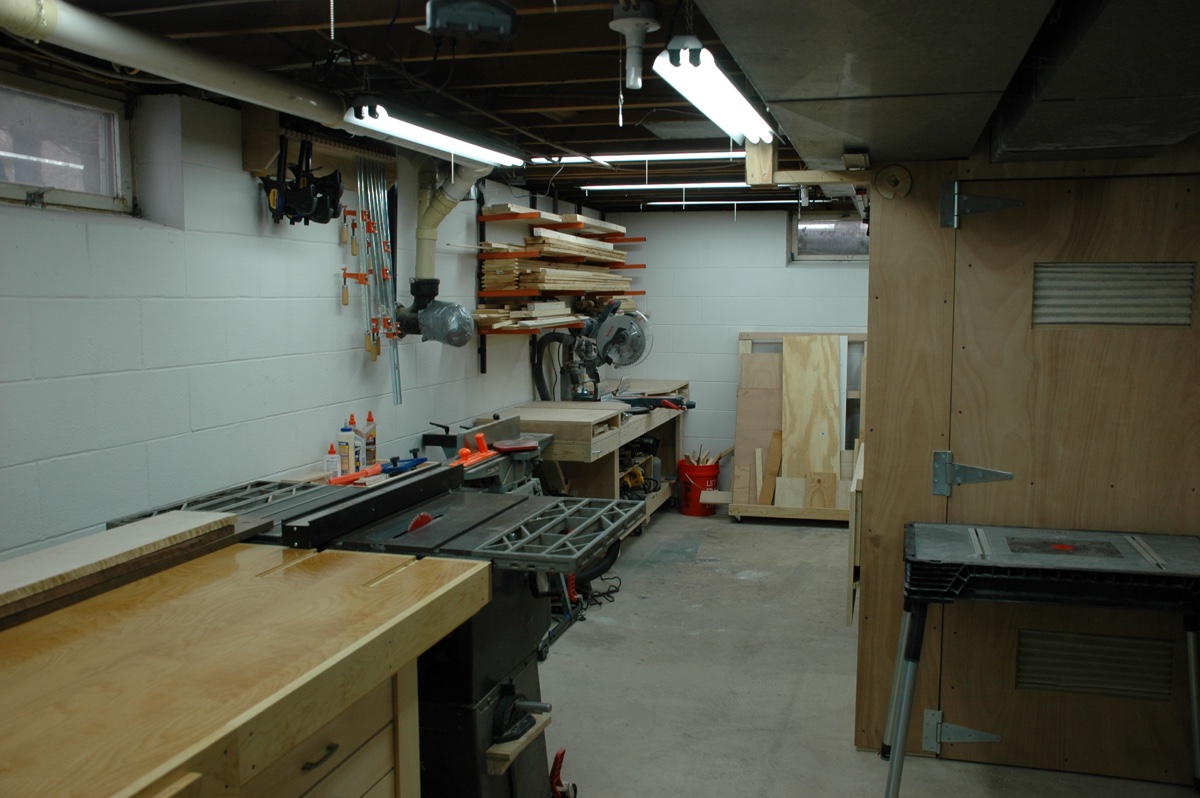
The table saw tends to be the one piece of equipment that requires the largest footprint. The saw itself is not the challenge, it’s the in-feed and out-feed space that using the saw requires. If you want to be able to rip material that is 8’ in length, that means you need at least 8’ of space both in front of and behind the blade. That translates into a minimum of 17 linear feet…and that’s a lot of real estate. For my shop, given its long and narrow layout, there was really only one location that would work. Once that location had been chosen, it was time to start planning the rest of the tool layout.
One thing I did as I was planning my shop project was to talk to as many people as I could that had workshops. I was able to get a tour of some of their shops, and it was very helpful as I was planning my own. A piece of advice that was consistent, was to put as many tools as possible on wheels to keep the layout as flexible as possible.
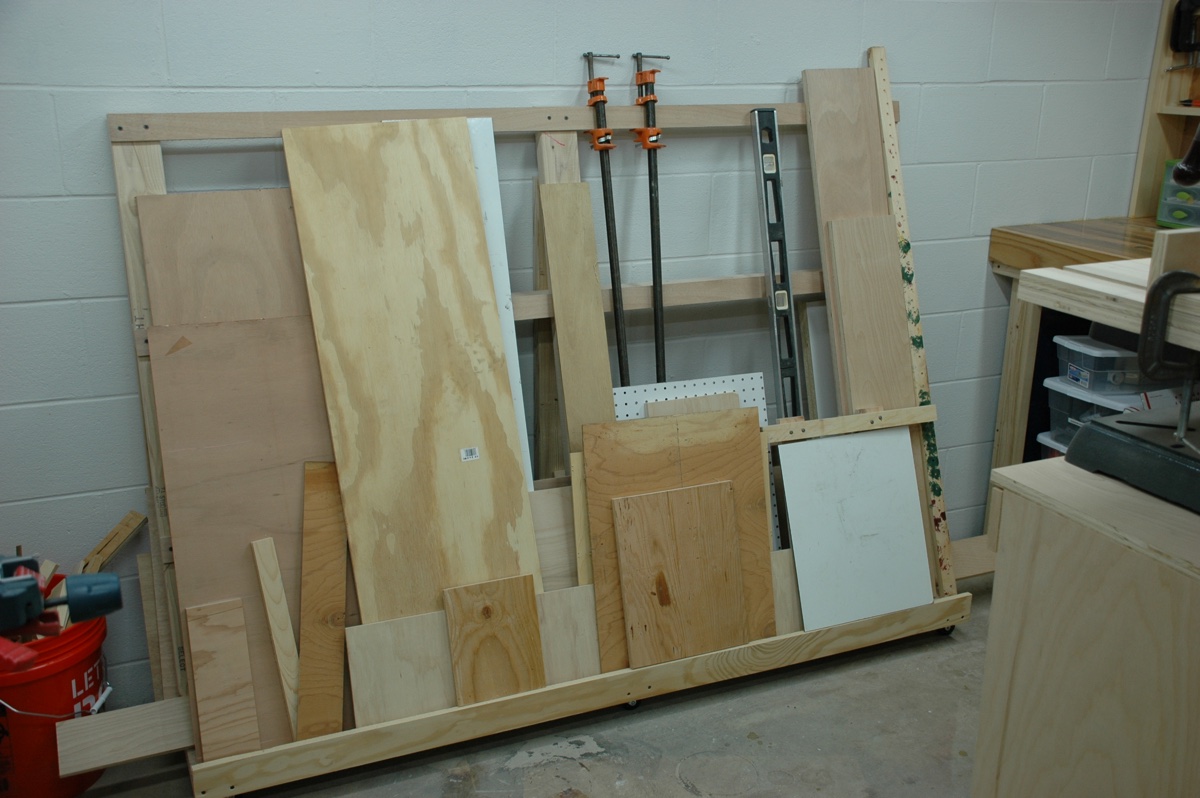
Though I had not acquired all of my tools when I was planning, I knew the tools that I needed to find a home for in my shop. In addition to the table saw, I was going to need a spot for a drill press, miter saw, planer, jointer, router table, band saw, dust collection, a stationary workbench, and lumber storage. I determined the approximate footprint of each of these items and I started placing equipment on my floor plan. The layout that I thought might work, looked something like this.
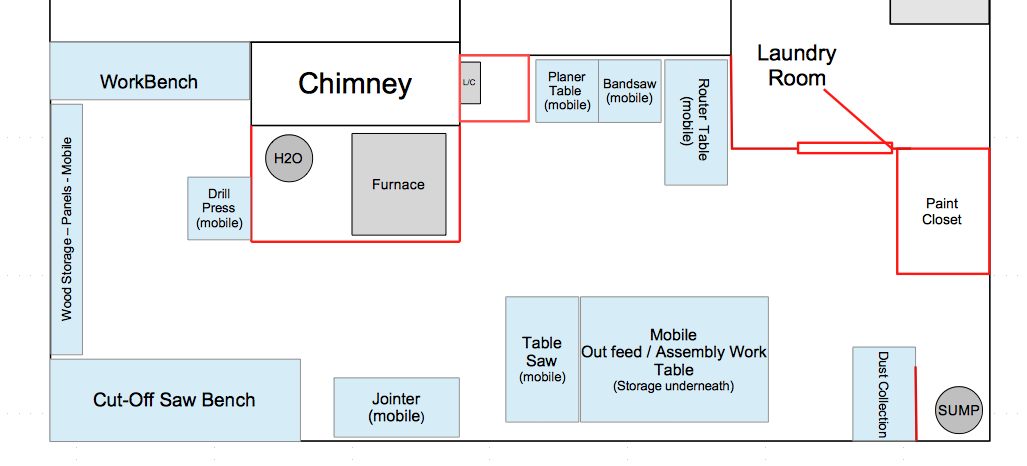
There was a place for everything and enough remaining floor space to maneuver supplies and projects. It was time to start building.
After dozens of google searches, I had found examples of miter saw stations, out-feed/assembly tables, lumber storage, and mobile tool stands. I took note of what I liked, what seemed functional, and came up with my own designs that pulled ideas from what I had seen online.
Because what works on paper may not work in reality, I decided to set up my shop in a ‘temporary’ mode. I set up a makeshift outfeed table with an old hollow core door on saw horses. I stacked up some pieces of plywood to make a miter saw stand, and even laid some boards across some boxes where I planned to build my workbench. With all of these temporary workstations in place, I started to build my shop furniture. This was one of the best decisions I could have made. I was able to put my proposed layout to a complete test and fine tune it before I built something that was not going to work.
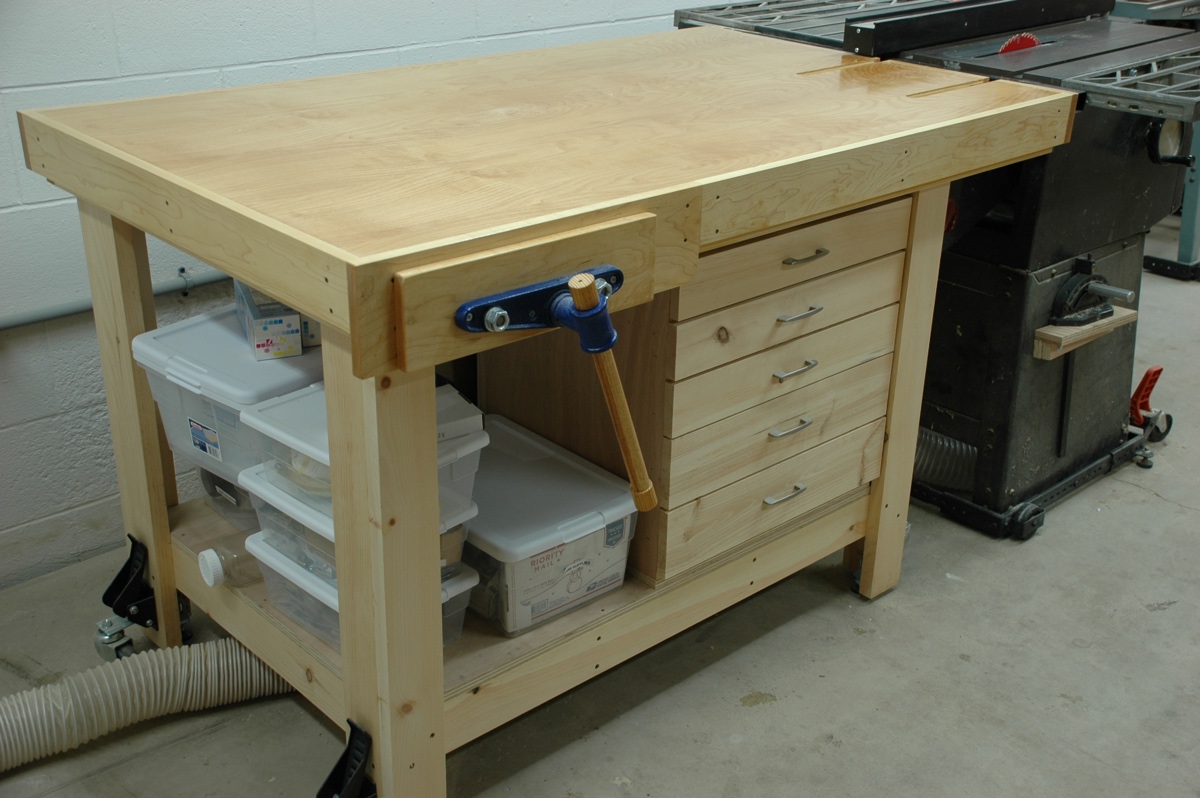
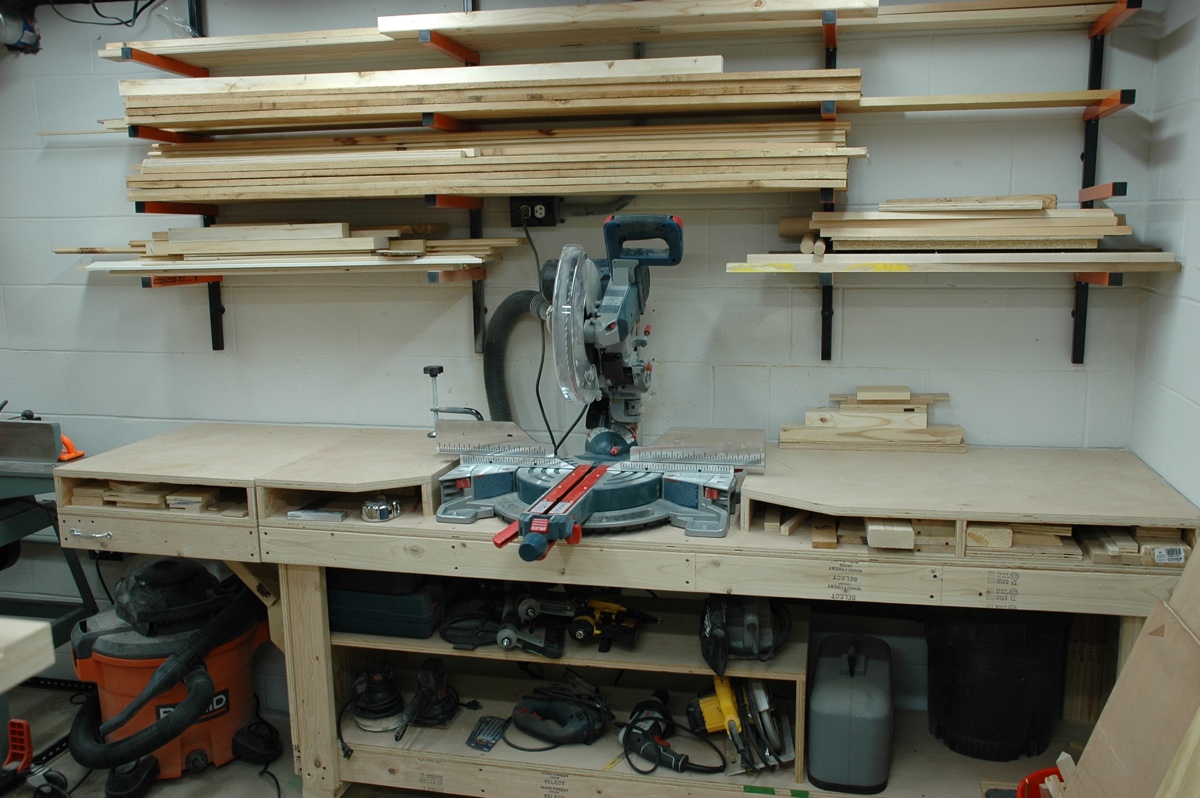
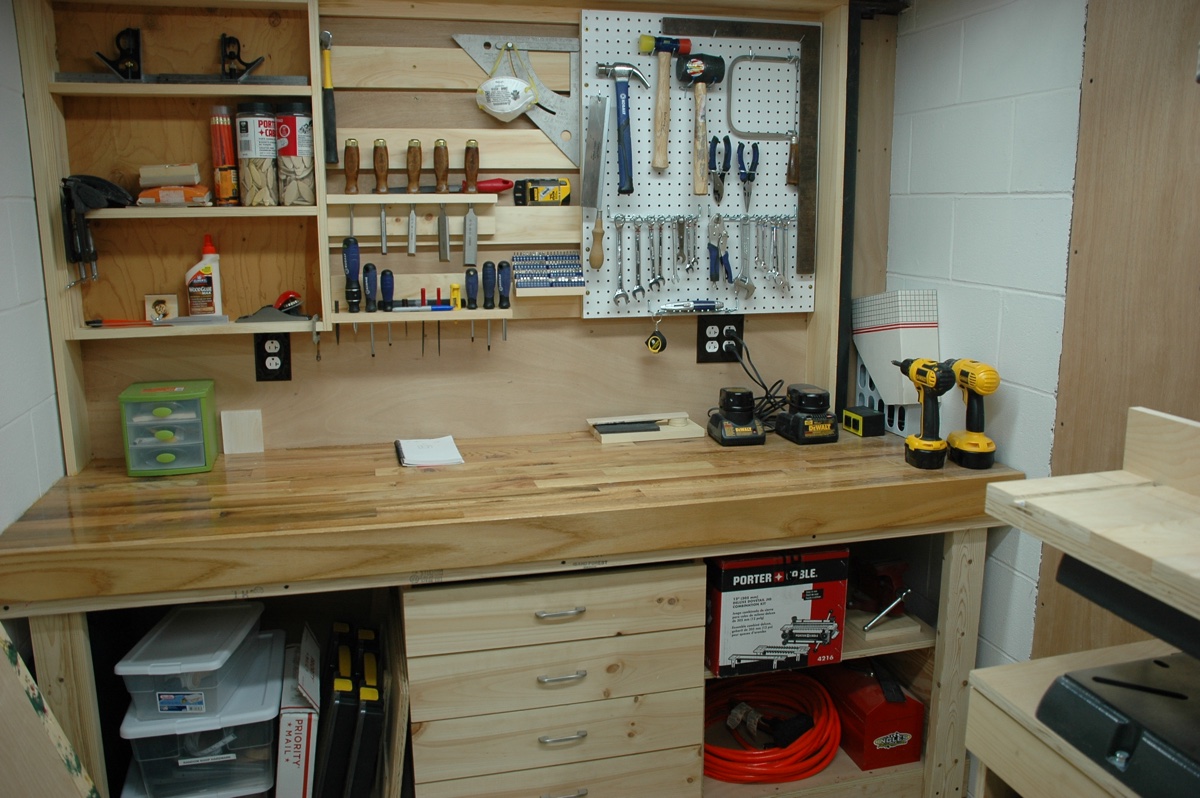
When I was researching shop furniture, I realized that some woodworkers make shop furniture that is fancier than the stuff I have in my living room. I took a much simpler approach, building most things out of birch plywood and common building materials. I did spruce up my stationary workbench with a layer of solid oak flooring that I picked from the seconds bin at the local flooring store. Being the centerpiece of the shop, my outfeed table got a little nicer treatment with maple trim and a high gloss finish. I outfitted the wall above my workbench with a french cleat system which has proven to be a very effective system for flexible wall storage.


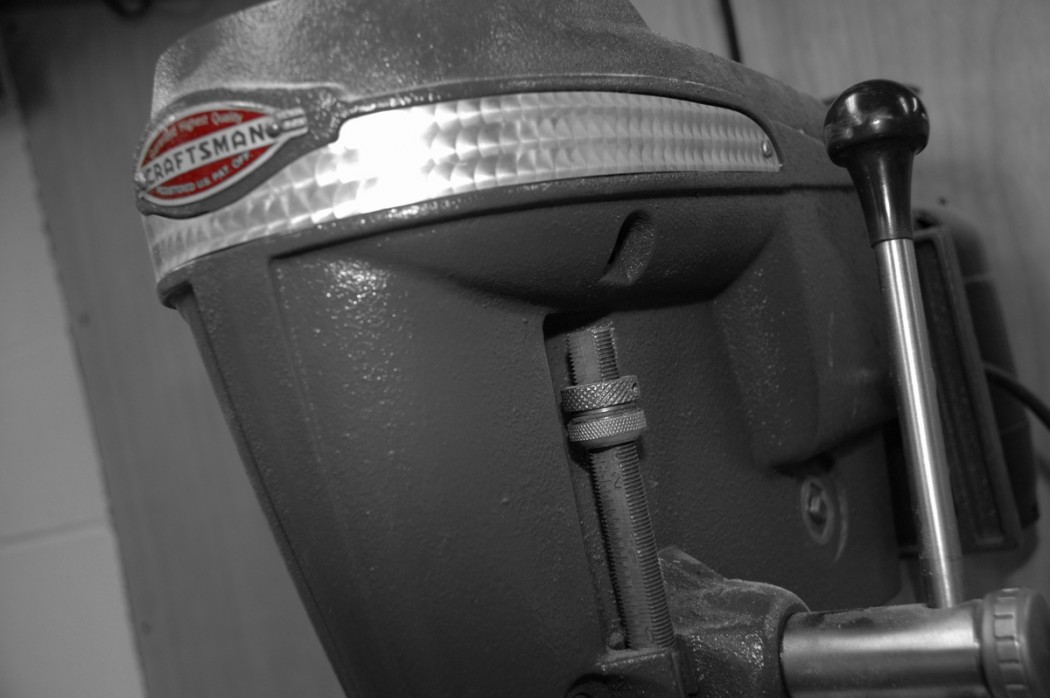
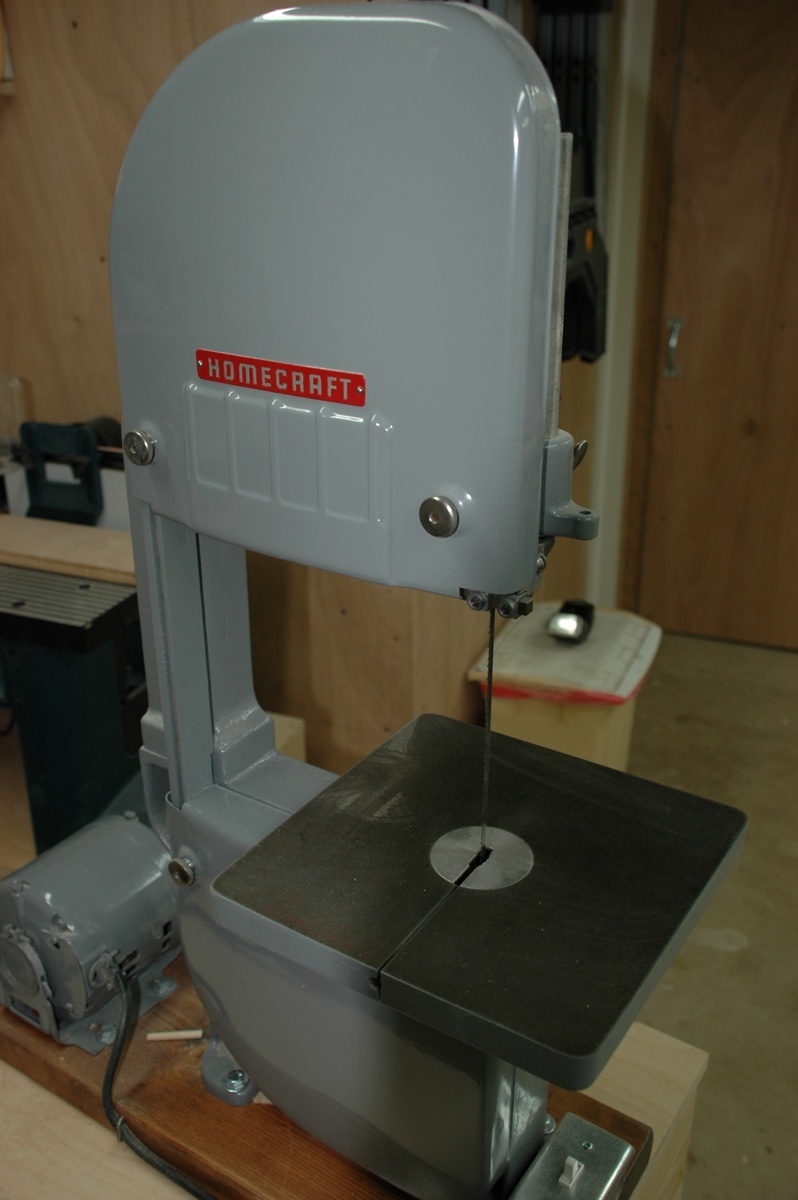
When it comes to picking the best tools to outfit a shop, there are dozens of options and price points. I was pretty realistic about my shop expectations. I’m not a professional woodworker and definitely did not need a shop full of high end tools, but I wanted tools that would still yield quality results. For most tools, I tried to buy used where I could…though in some cases, the used prices were not low enough to take a chance on somebody else’s problem. I did pick up a nice Delta 6” Jointer that was priced right and had a lot of life left in it. Two of my favorite tool finds were from a local retiree that restores old shop tools. I bought a 1950’s Rockwell Delta 10” bandsaw and a 1940’s Craftsman Drill press from him. Good old fashioned, heavy duty tools…that may lack some of the features of the latest and greatest shop tools, but make up for it in their quality American made construction.

For dust collection, I read a lot of good reviews from the Harbor Freight single stage dust collector. I normally would not recommend buying any serious tools from Harbor Freight, but after researching their dust collector, it seemed like a good option. I replaced the stock filter bag with a 1 micron unit. The unit comes with a Y connector. I have a dedicated hose to my table saw from one side and the other is setup with a quick disconnect fitting and gets moved from tool to tool as needed. A ceiling mount ShopFox Air Cleaner helps keep the suspended dust to a minimum.
After a few projects, I have found that my layout works pretty well. I’ve added some random shelves and a folding work surface for more storage and assembly area. Overall, considering the size of the shop, it’s a very workable space that should serve me well for years to come.
Just like no two woodworkers are alike, no two woodworking shops are alike. If you are in the process of building your own workshop, think about the types of things you want to build, research other shops for ideas, and keep things mobile. In the end, it’s all about making sawdust and having some fun in the process.