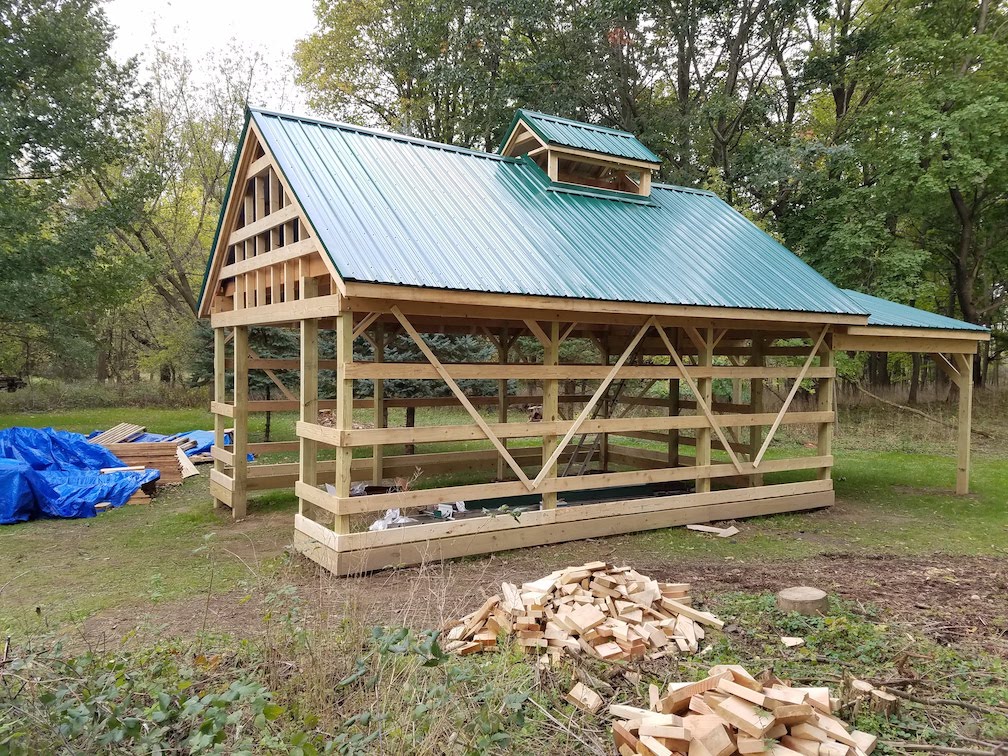
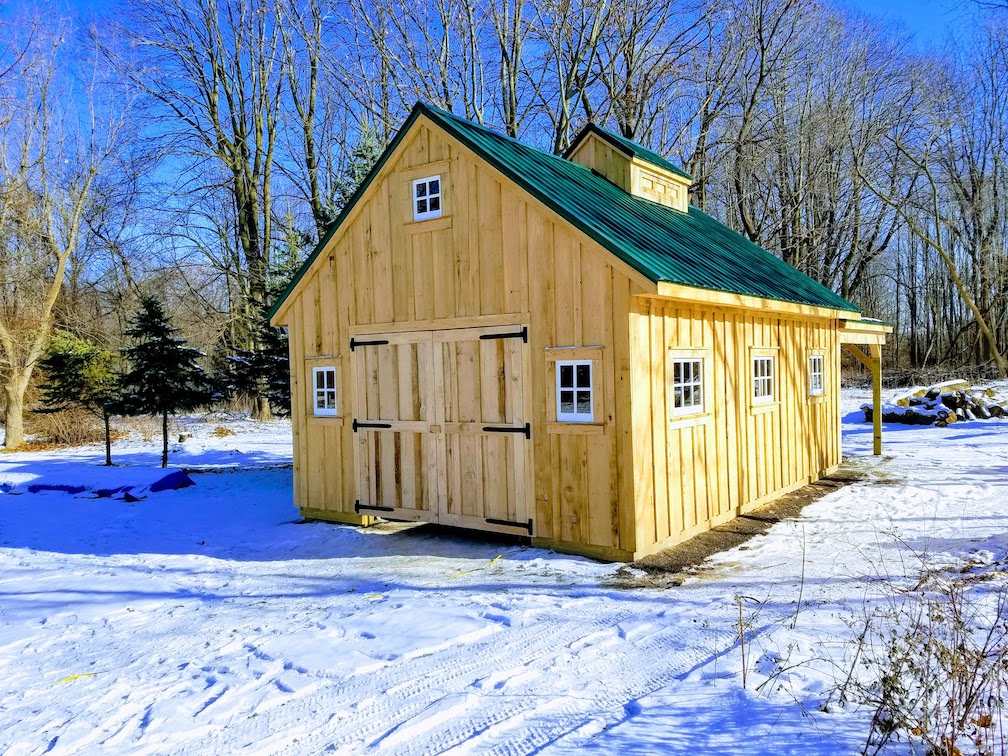
With the framing complete, it was now time to get this sugar shack weathertight. (To read about the framing, check out part I of our project)
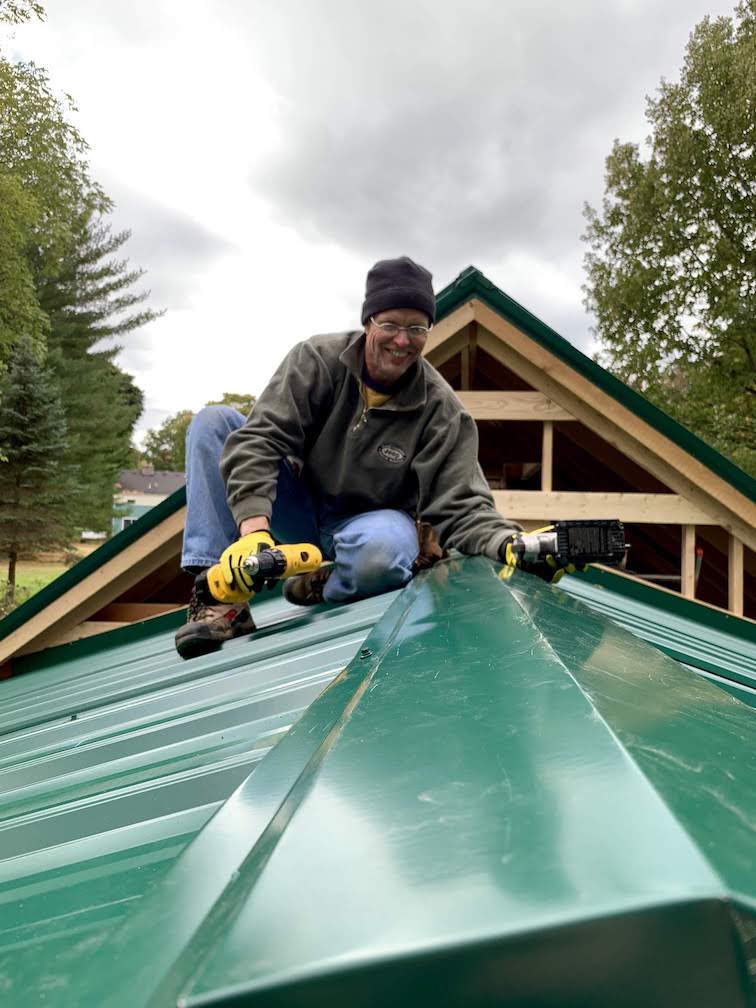
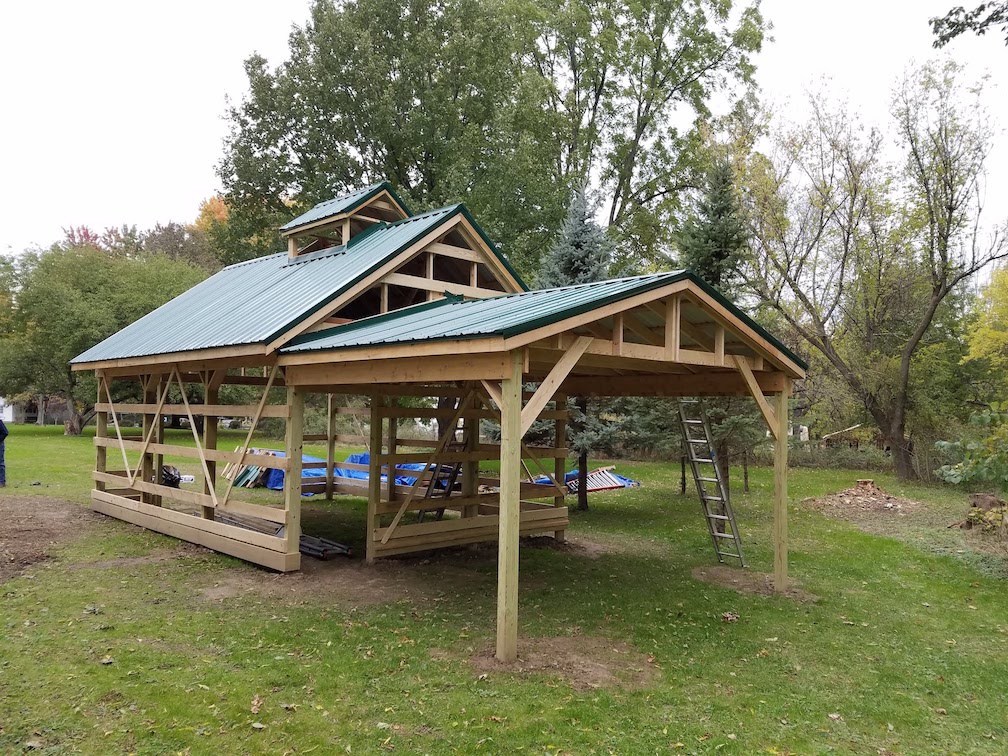
Metal roofing is the traditional roofing choice for sugar shacks…and I was certainly not going to stray from tradition. This was the part of my project I worried about the most. Metal roofing requires a perfectly square roof and getting the panels running straight right from the get go. My only other metal roofing experience was a tiny wood shed and to say that turned out as desired would be an untruth of epic proportion. With a lot of roofing to install, and both my daylight hours, and the hours my buddy Adam could help me running short, the pressure was on, but after much sweating, fretting, and occasional frustration…the metal roof was in place, and aside from a couple screws that were not seated completely, it was and still is leak free.
Typically this was the point in a building project where I’d be so focused on getting done, that it would take the fun out of it. But, I kept focusing on some words that my dad told me during one of my earlier building projects. He said “don’t wish for it to be over, the building is the fun part, enjoy it”. With those words ringing in my head, and a grin on my face, I was ready to tackle the next phase of construction.
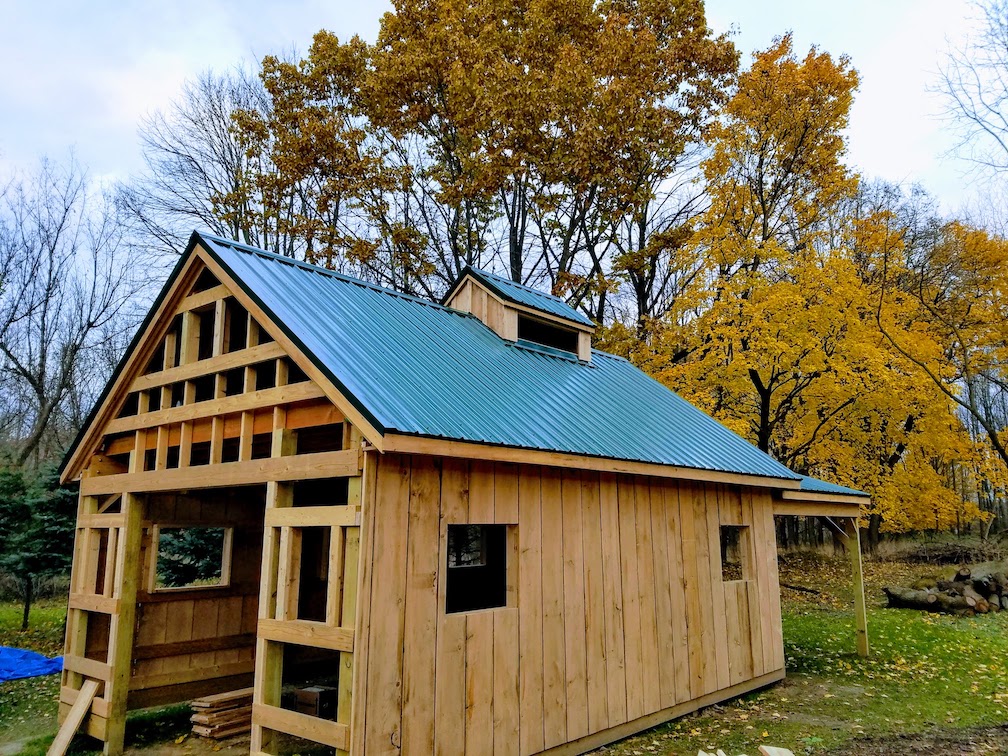
Again, sticking with tradition, I wanted my sugar shack to be clothed in board and batten siding. For those that don’t know, this is a type of siding where wide boards (called boards 🙂 ) are installed vertically, and narrow strips of lumber (called battens) are placed over the gap between the boards. I ordered some rough cut hemlock from a local lumber company. I soon learned that rough cut 1”x12”x16’ boards, that were in a full sized tree only days earlier, are heavy, very heavy. Working against weather, and often losing, I worked quickly to get these soggy planks hanging on my building. With temperatures down into the teens, if I was going to get this thing closed in, I was going to have to keep working.

When I first picked the spot to build my building, from a casual glance, the ground looked relatively level. Perhaps I was standing with one foot in a hole, because it wasn’t until I started framing that I realized there was about a 12” drop in grade from right to left. I took a momentary break from siding, to haul 10 tons of crusher run to bring the grade to level. Before starting this project, I had purchased the smallest Kubota tractor and a front end loader to go with it. I believe with this one task the tractor paid for itself….to this day, the woman who shares my last name, disagrees.
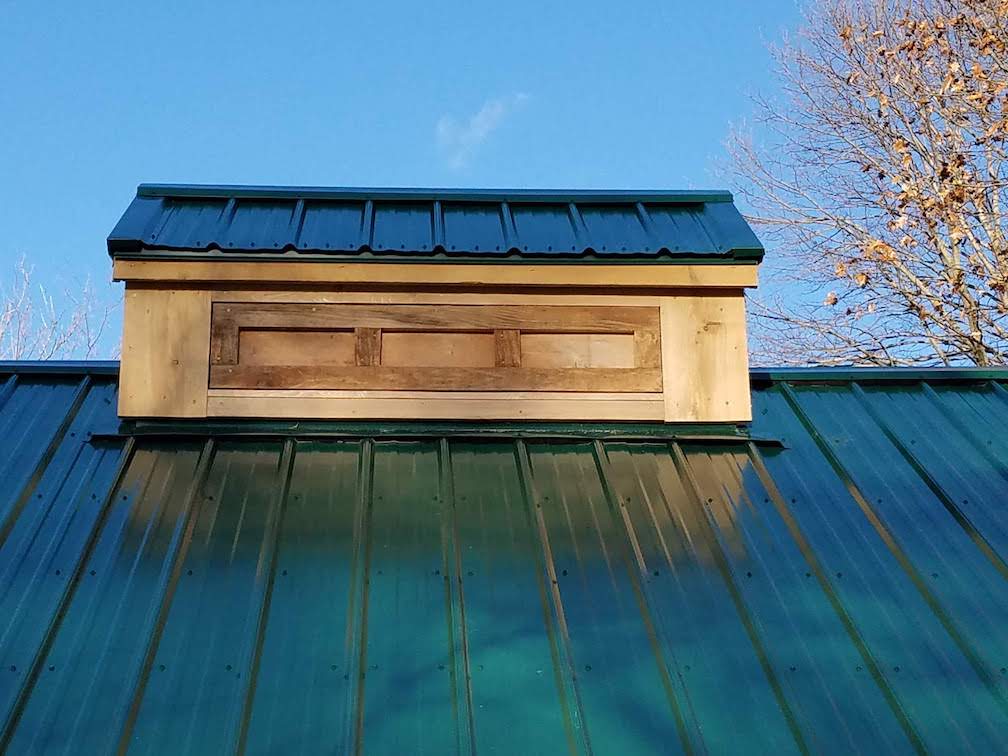
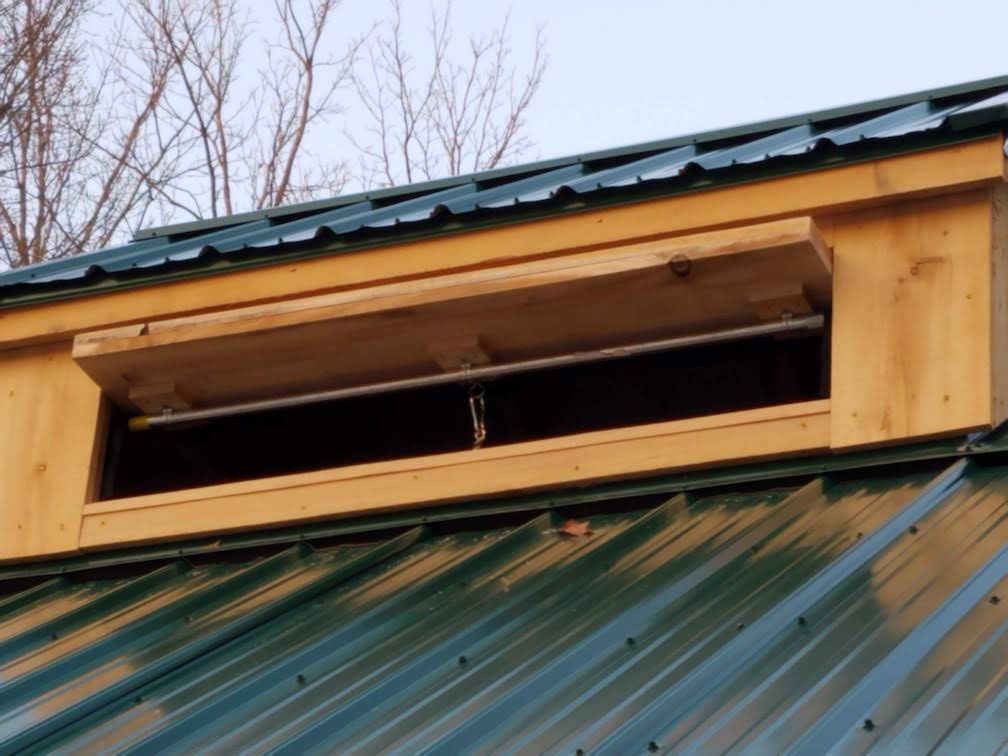
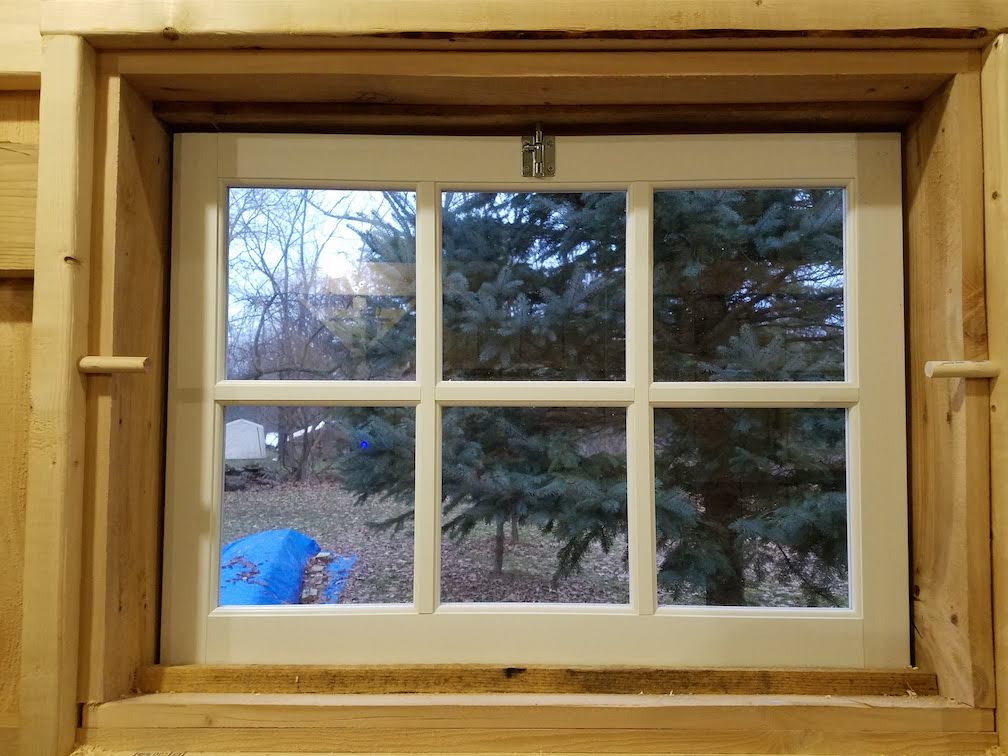
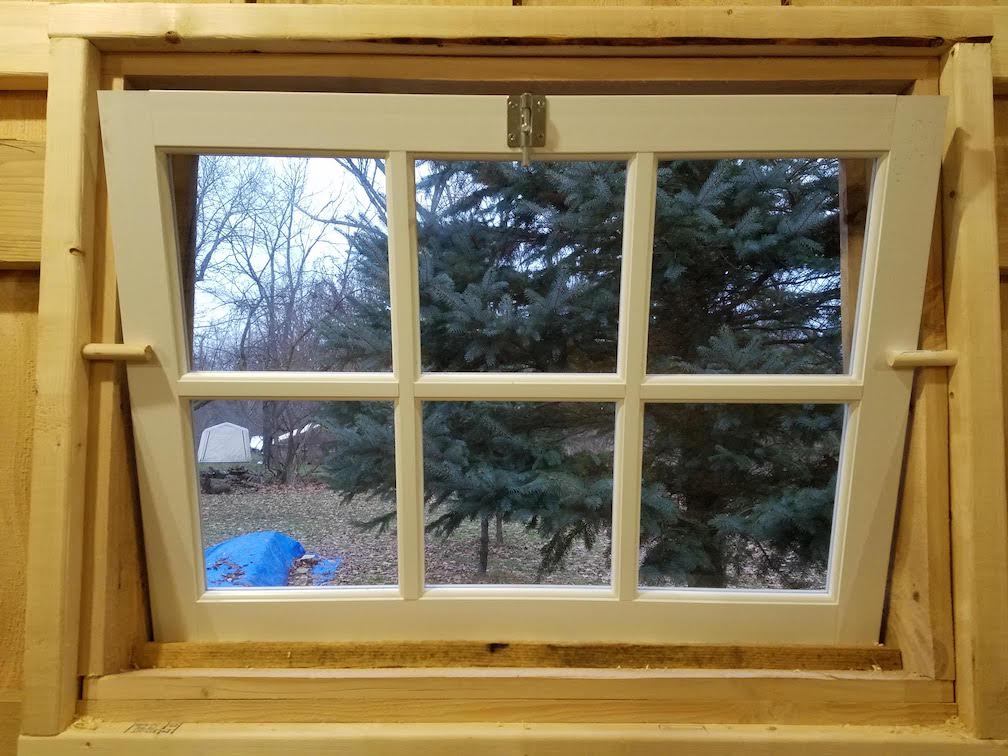
With the grade leveled, I finished up the siding and worked through all the trim details, battens, and building all my doors. I had seen a pretty neat window setup using barn sashes and a tilt-in design that I used for all my windows. I had also seen a clever design for the cupola doors that would allow them to open upward and keep the weather out while boiling. The trickiest part of that task was figuring out the pulley placement so that a grown man could actually provide enough force to open said cupola doors; with some trial and error, I got that all figured out.

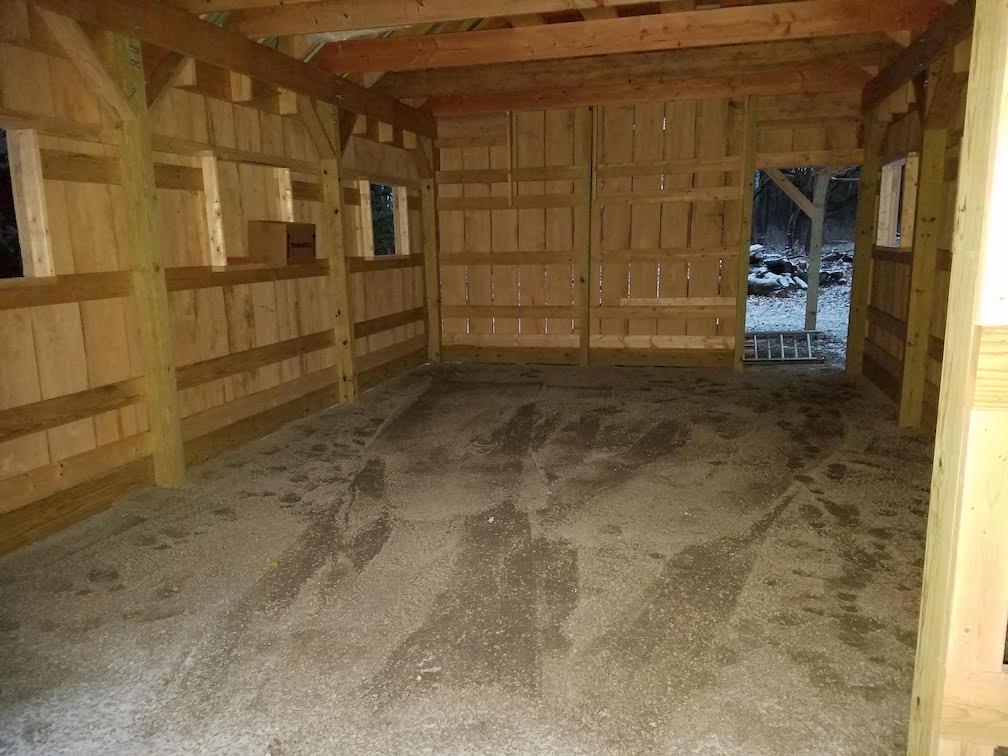
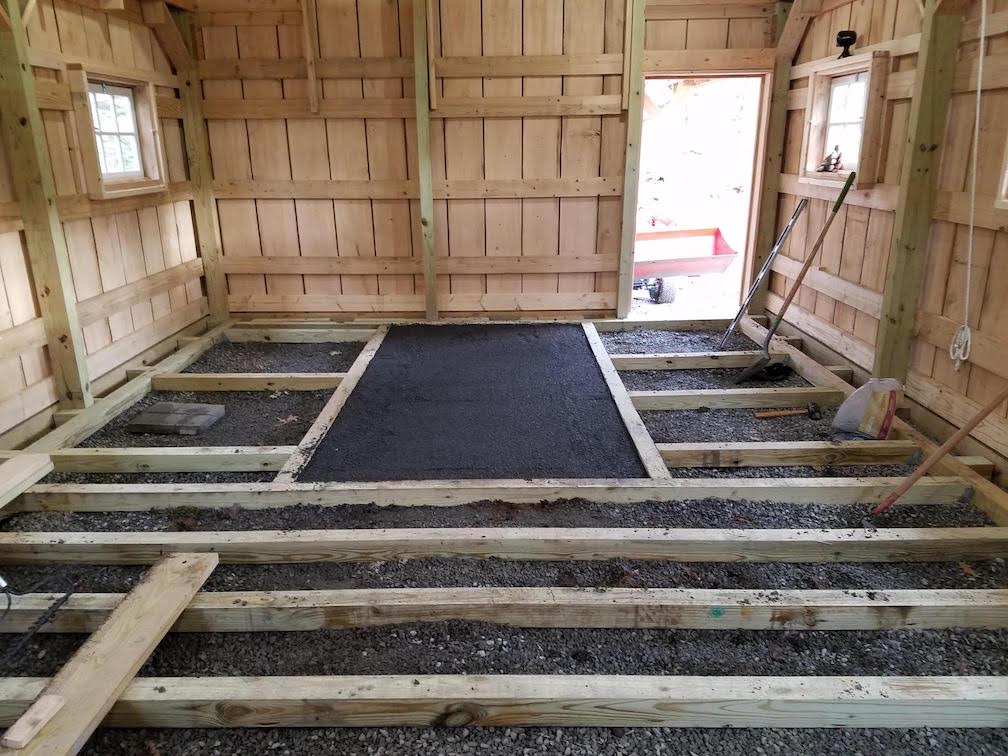
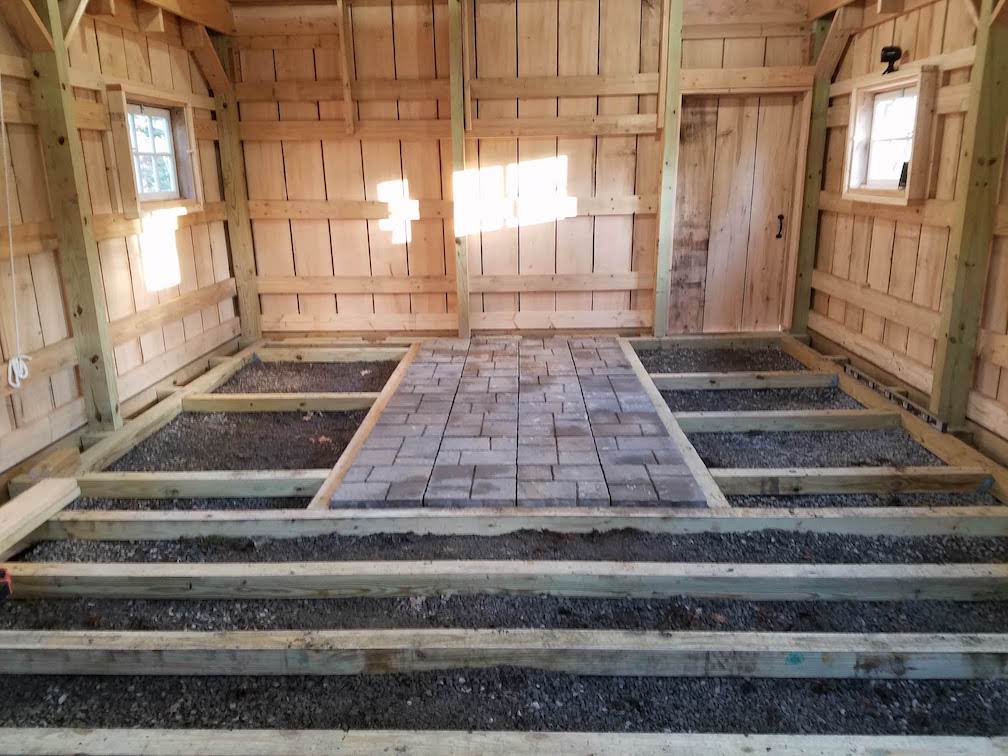
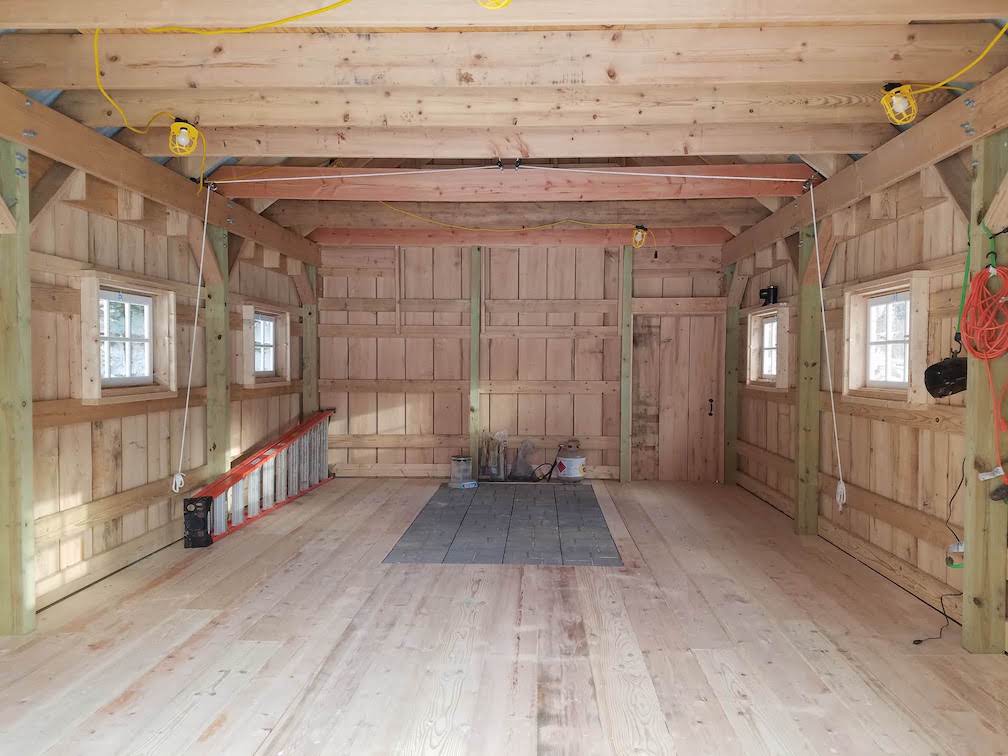
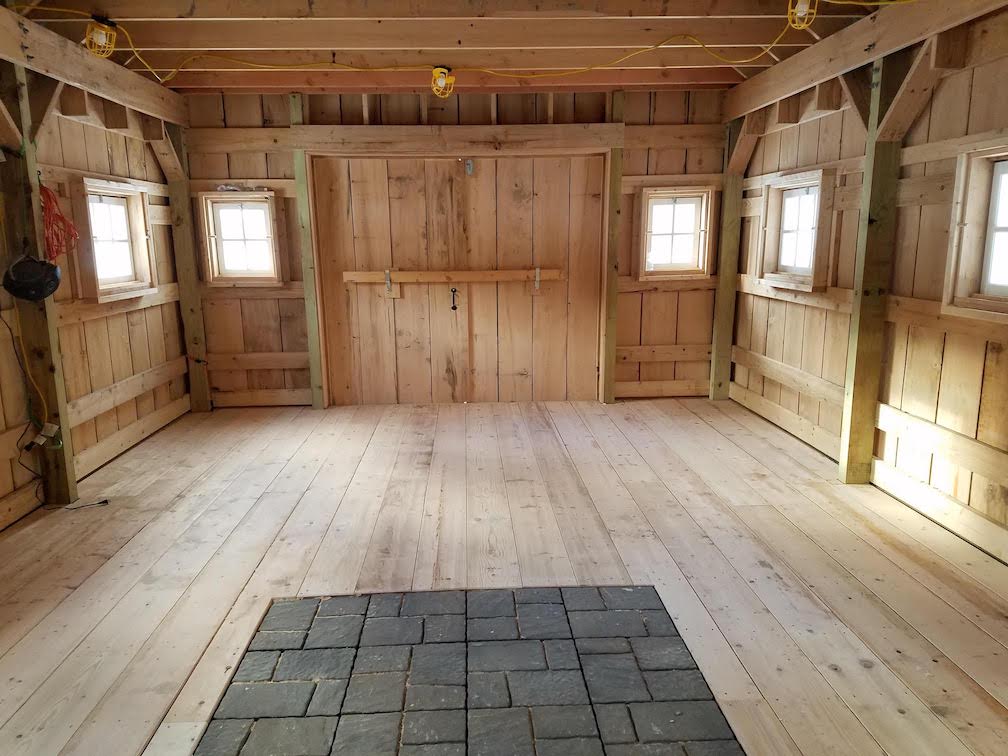
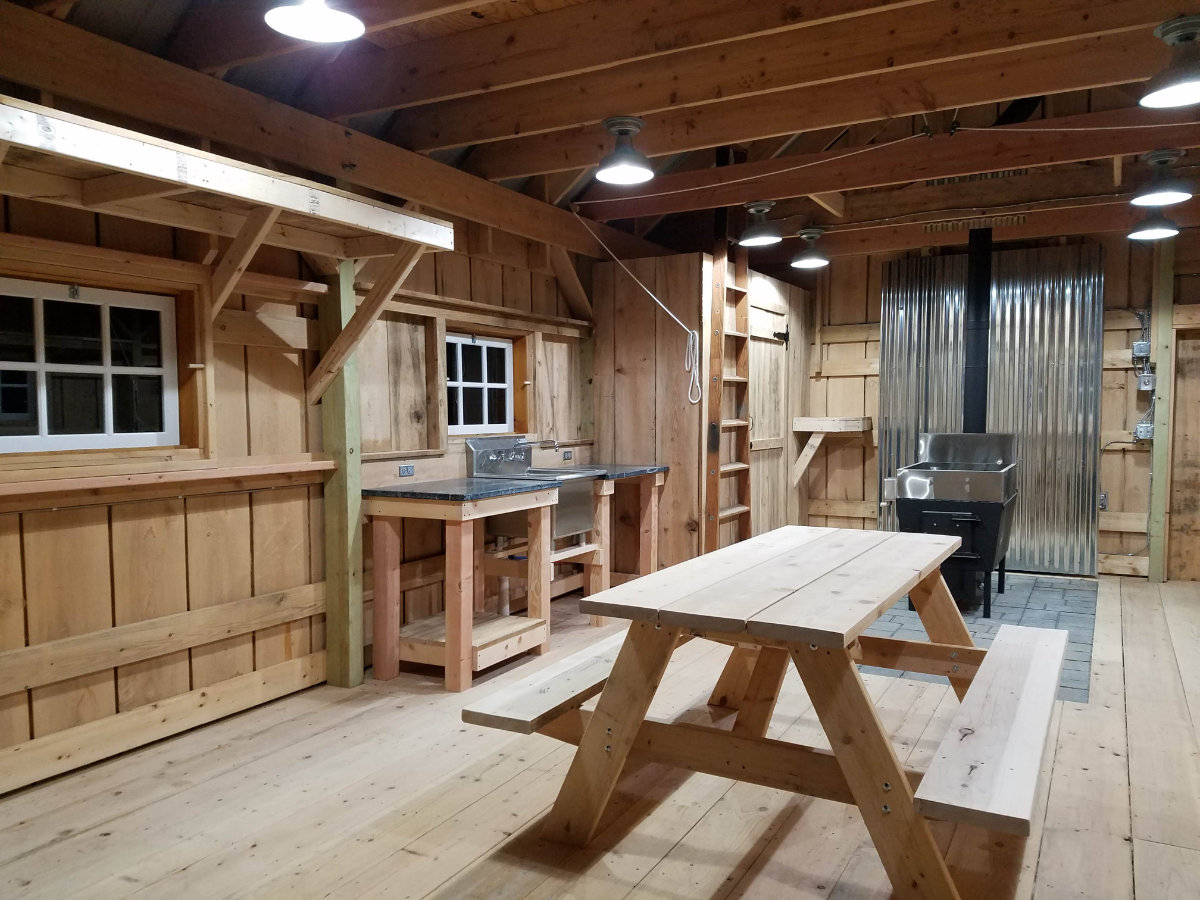
I don’t know why, because it’s certainly not the norm, but I wanted a wooden plank floor in my sugar shack. This posed a bit of a problem because wood fired syrup evaporators can be a fire hazard with a wooden floor underneath them. There are ways to protect the wood, but none of them seemed as safe as I thought they should be. I decided that I wanted to put a large paver hearth under the evaporator area. To keep moisture at bay, promote good drainage, and to ensure a level base, I put down 4” of gravel on top of the crusher run. I framed the floor with pressure treated 4”x4” sleepers. I boxed in the area where the pavers would be installed, filled that area with paver base, leveling sand, and then placed the pavers so that they would sit level with the wood flooring. I put a vapor barrier on top of the sleepers and for flooring, and installed 1”x10” pine for floor boards. The end result was the old timey barn look and feel with a fireproof hearth area. I was thrilled with how it turned out …and I had finished this last bit of construction 4 months to the day from when I started.
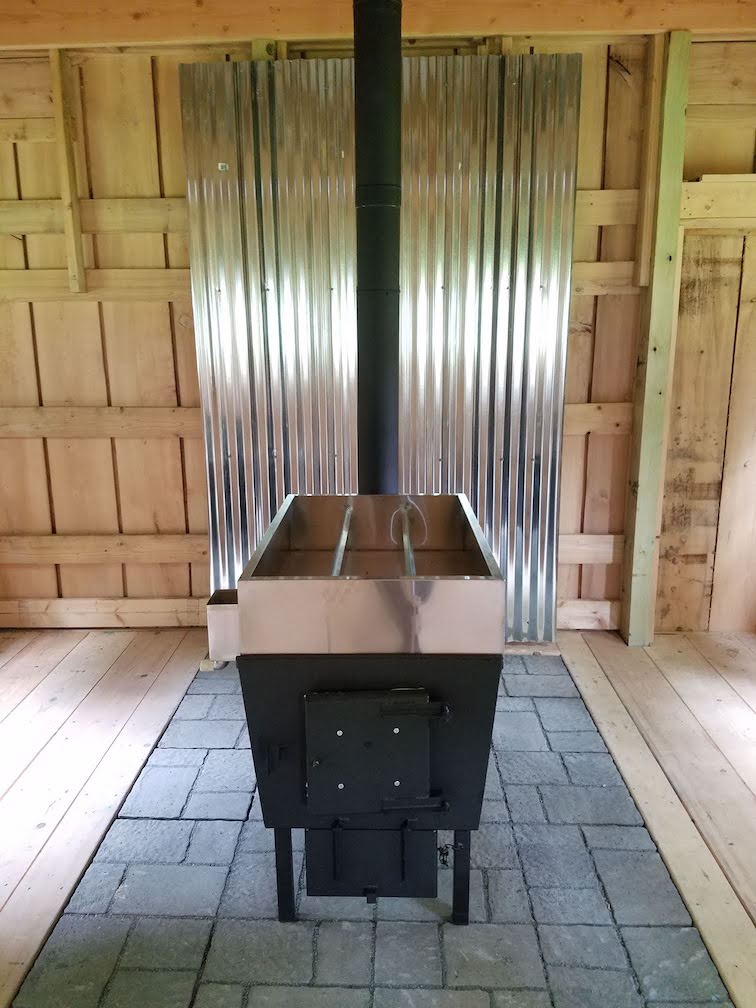
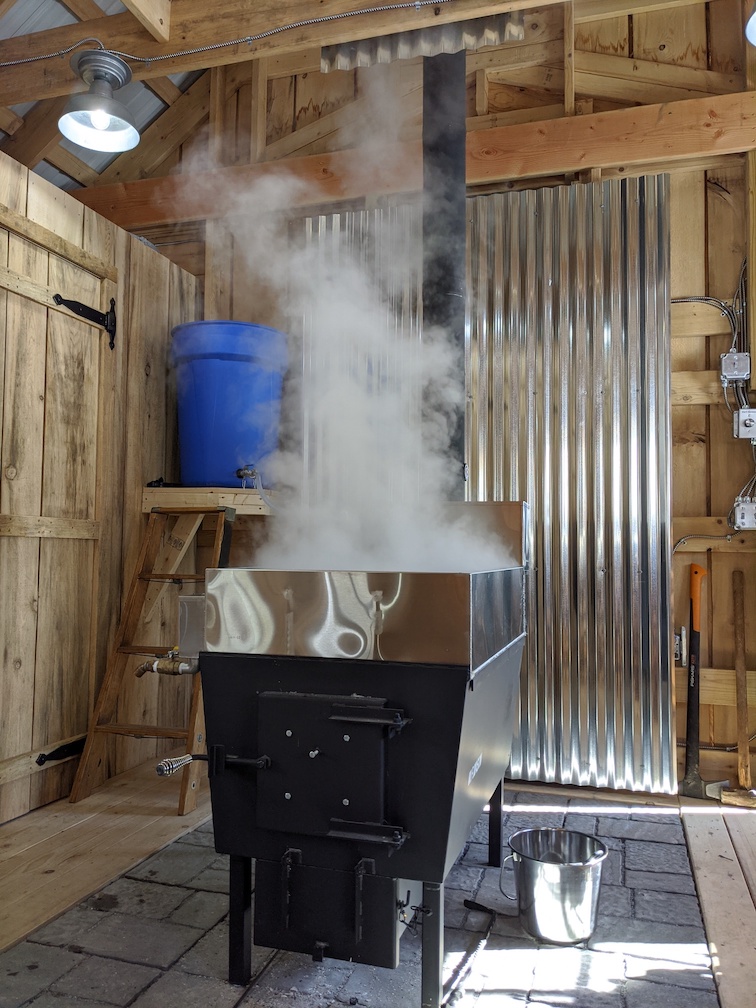
While I was building, I had ordered a 2’x3’ hobby sized Evaporator from Mason Evaporators in Maine. Unfortunately it arrived a little too late to use for the 2019 season. Without the pressure to get set up for boiling, I took a break for a few months and spent some time taking care of other projects that had been neglected during the build.
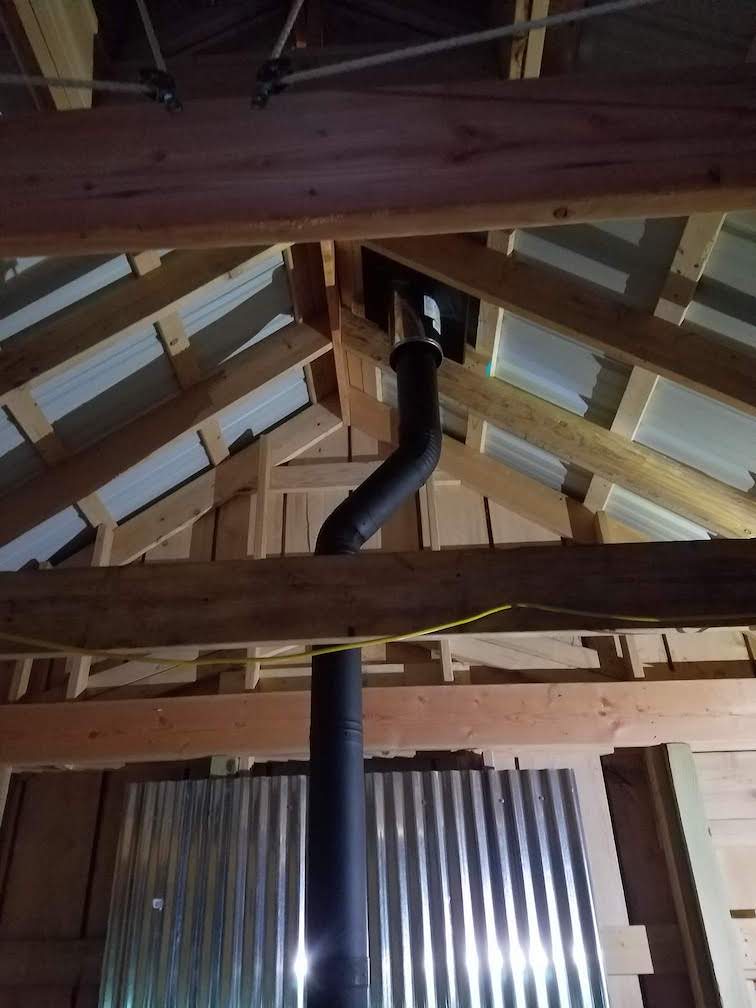
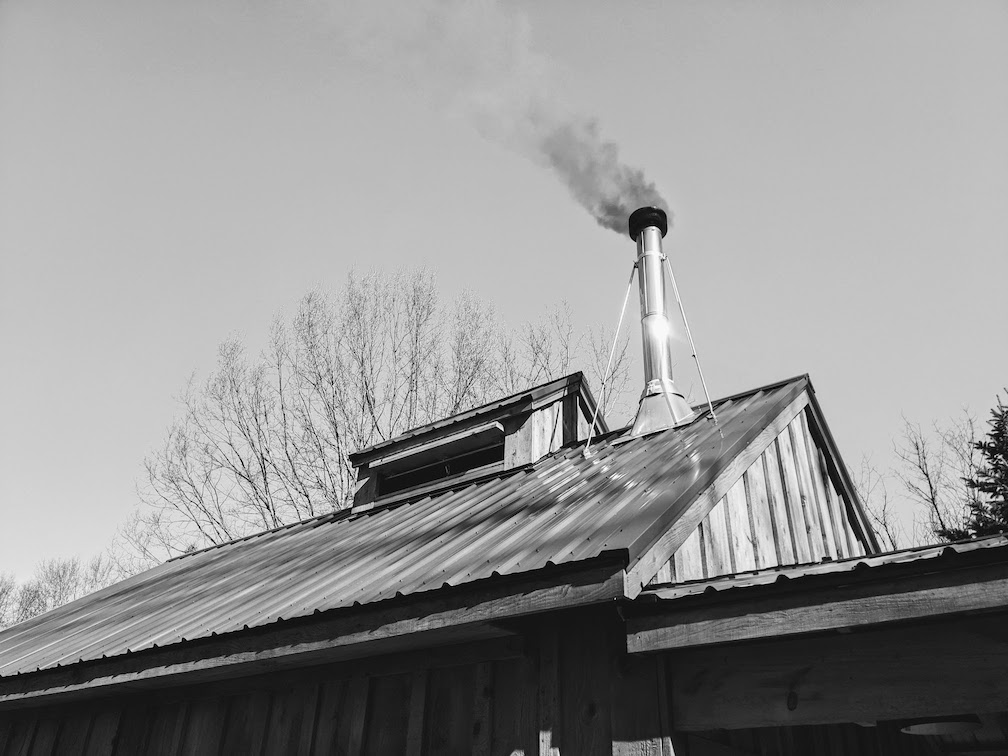
The next thing on the to-do list was to get the stack through the roof and connected to the evaporator. I did not have the heart to put a hole in my new metal roof, or enough chimney assembling experience to convince myself that I needed to install the stack myself, so I reached out to Crocker’s Hardware in Leroy, NY to do the honors. What would have taken me days of fret, worry, and potential catastrophic results, was done in a day’s time. If I were to do this part over again, I would either have framed the roof so the stack could go straight up, or would have placed the hearth off center, but I did neither of those things, and ended up with a slight bend in the stack. It did not seem to effect performance of the evaporator.
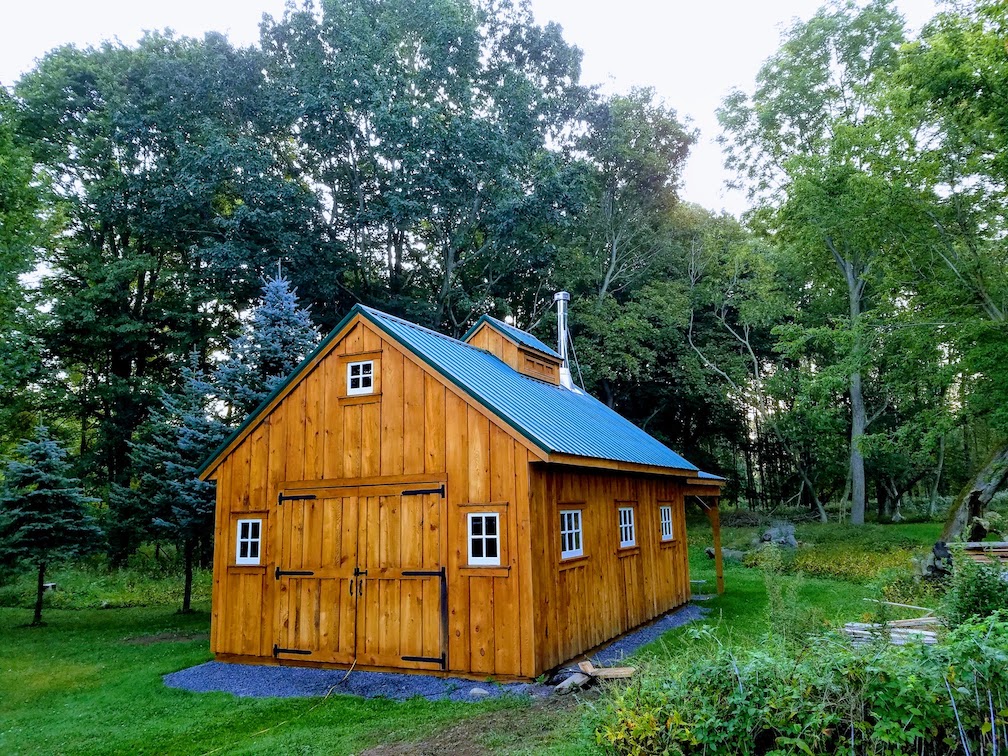
With a particularly wet spring and early summer, I had to wait for a long enough dry stretch to get some stain on the siding. I picked up a pro-sumer grade sprayer, and in the course of a day, was able to get two coats of stain protecting the hemlock siding. Based on some input from a friend with a lot of rough lumber experience, I ended up using Flood CWF-UV5 Transparent Stain for my finish.
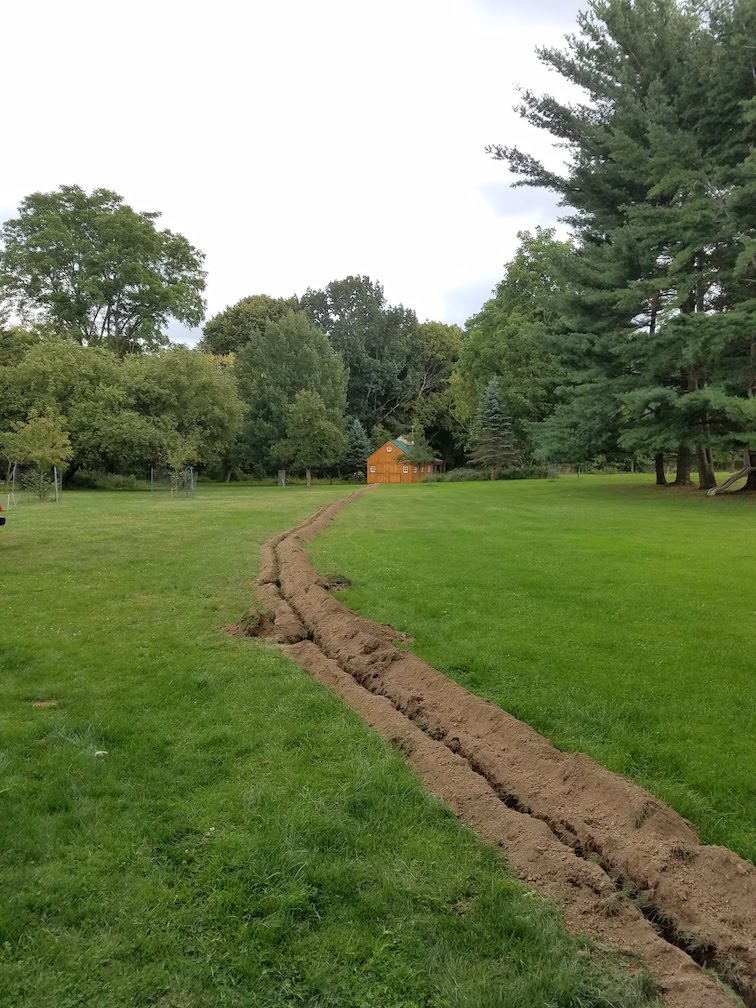
The other task I decided to hire was getting the electrical run from the house to the shack. A 50 AMP service would be the best choice to meet the power needs of the shack. To save some money, I signed up to trenching the 100 yards from the house to the shack and lay the wire. While the trench was open, I ran some direct burial ethernet cable so that I could eventually have internet in the shack. I’m not sure if the money I saved was worth the trenching time, but I did unearth a random kitchen spoon from my backyard, which provided some moments of head scratching as to how such an item would find its way there. A mystery still unsolved to this very day. The electrician hooked everything up, and with the panel box in place, I took it from there and ran all the lighting and outlet circuits in the shack.
It was about at this point where I completely lost sight of the shack part of this project, and turned it into an exercise in carpentry creativity. The overpriced galvanized barn lights and metal clad wiring should have been the first indication that I was taking things too far, but sometimes these things are lost on me.
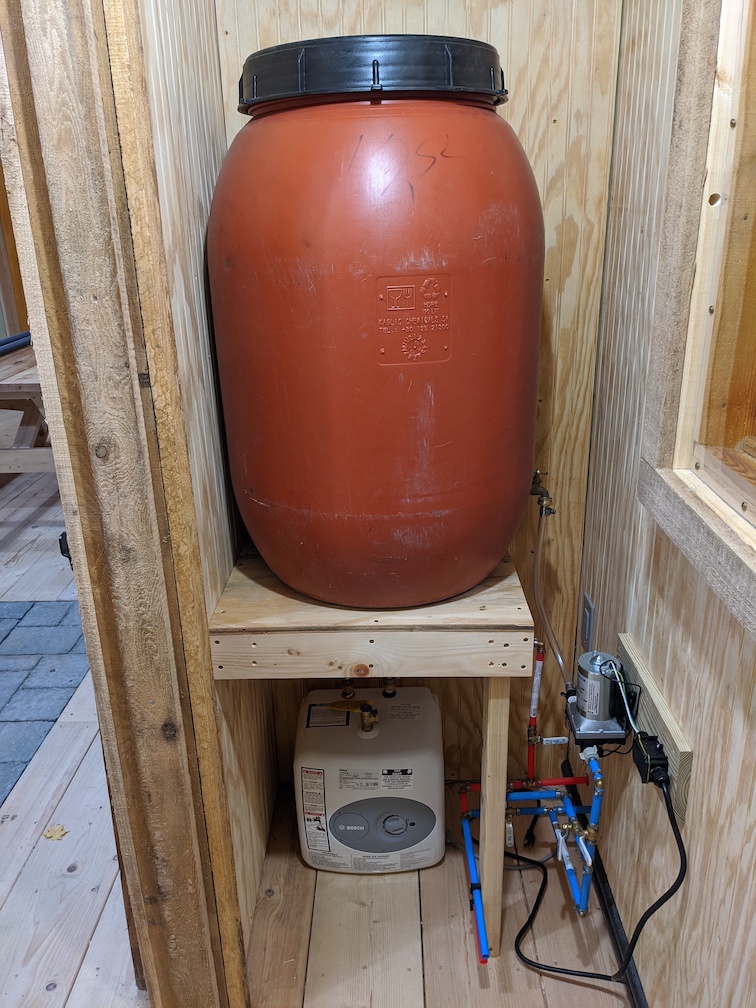
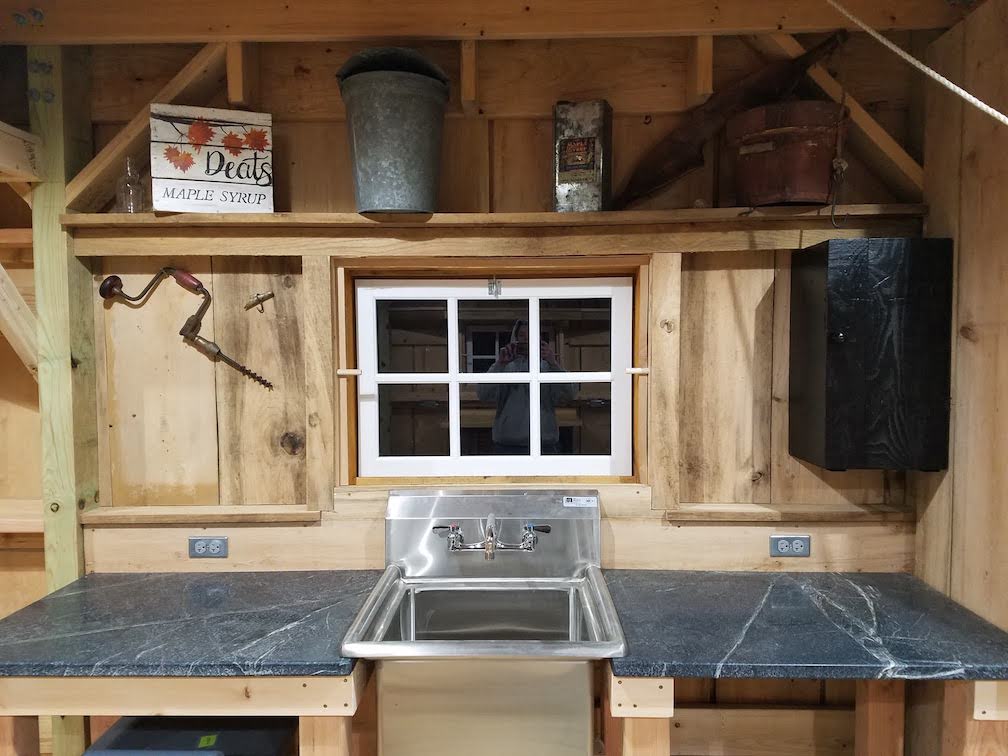
For those not that close to the maple syrup process, a lot of sugarers use Reverse Osmosis (RO) to remove a large amount of water from the sap before boiling. Not only does this save time, but saves on fuel cost to run the evaporator. I don’t currently have a Reverse Osmosis setup, but knowing that someday I might want that, and knowing I wanted some running water in shack, I built a small 3’x8’ insulated and heated closet that could house a 65 gallon fresh water barrel, small water heater, on demand water pump…and eventually my RO setup. I closed the closet in with leftover siding materials. I built a beefy open cabinet to hold a stainless steel wash tub and had some soapstone countertop sections cut out of a remnant from the local stone shop. I installed this next to the utility closet and ran a drain from the sink out to a gray water well about 15’ away from the building.
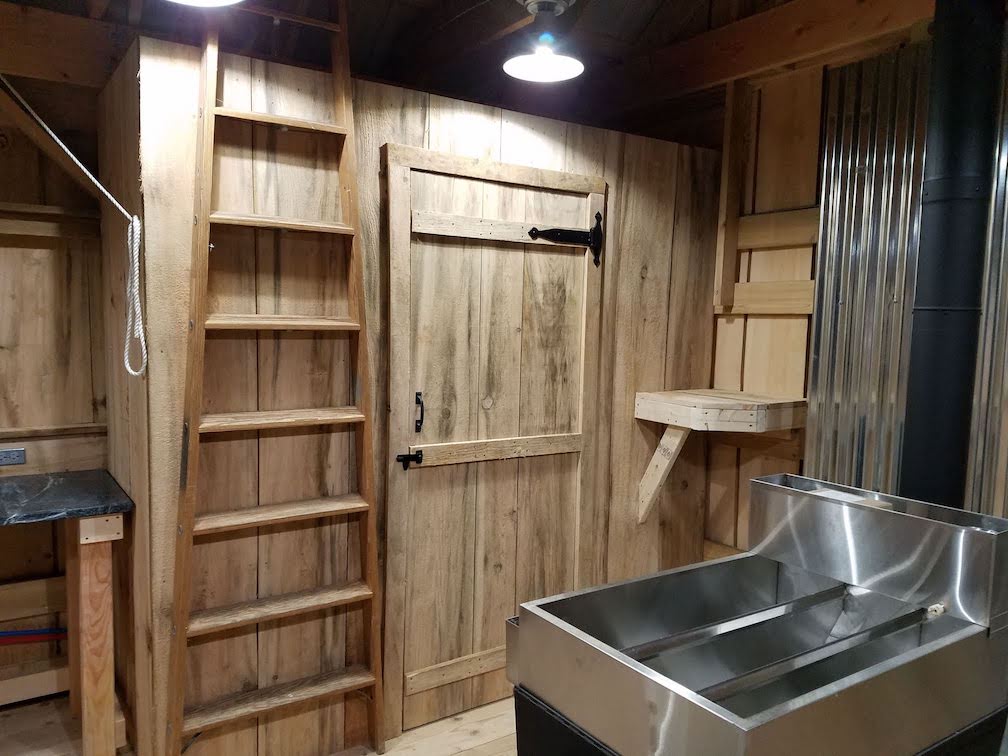
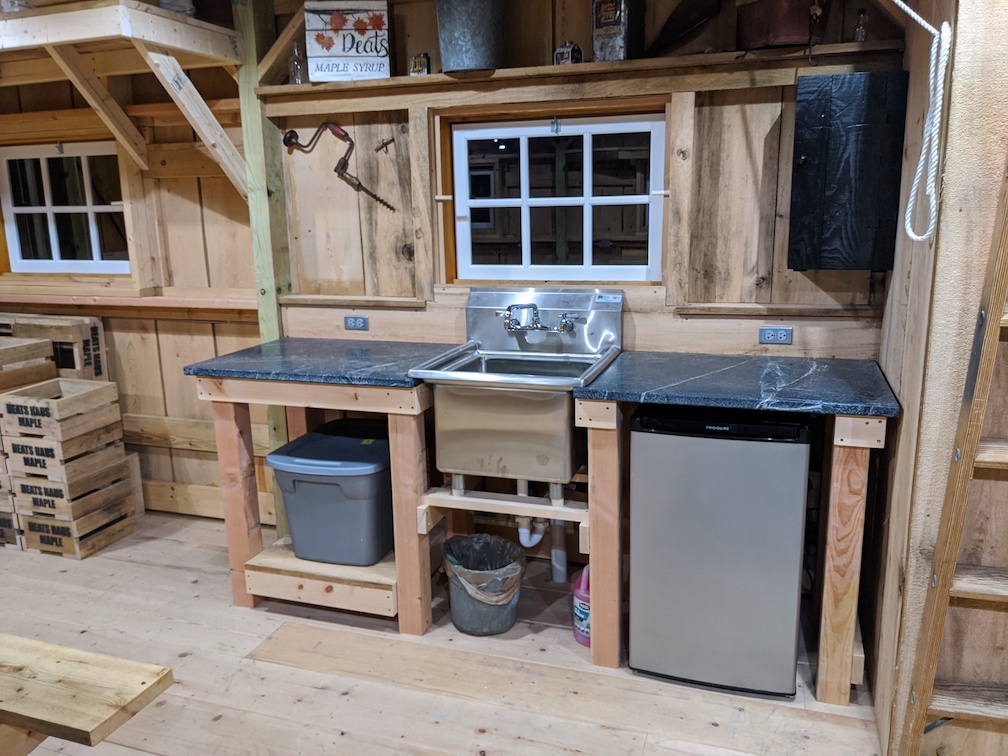
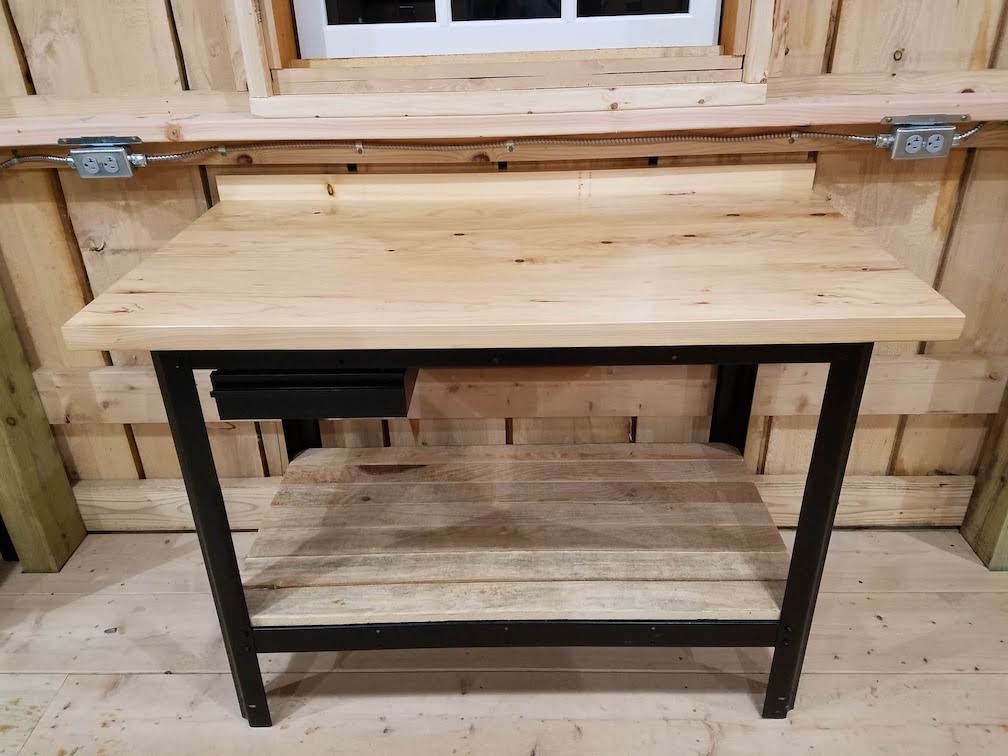
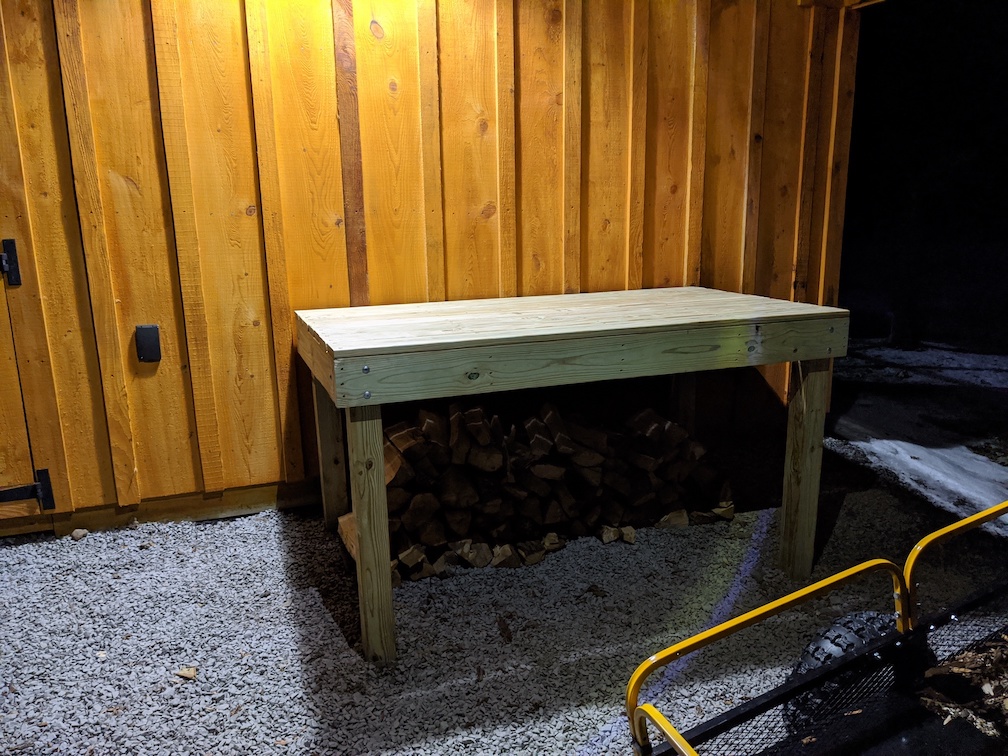
Now that all the ‘essentials’ were in place, it was time to think about the optional features that would come in handy once the shack was in use. I was definitely going to need some shelves for storage and additional work surfaces. I built an overhead shelf to hold sap buckets. My buddy gave me an old metal workbench that needed some fresh paint and a new work top. A night in the workshop with some leftover framing materials took care of that. I put a narrow shelf above the sink area and turned that into a mini maple museum, decorated with old syrup tins, sap buckets, and other maple memorabilia. I was looking for a place for people to sit when they were hanging out during the sugaring season. A common suggestion on the forums was a picnic table. I still had some of the scaffolding materials that I used for framing the roof. Despite the screw holes and foot prints, these made for a great picnic table. The last thing I needed to build was a platform to hold my sap barrels. I build that out of pressure treated materials and set it up under the overhang section of the building.
At this point, having completely blown my original budget, construction was complete and all that was left to do was to wait out the winter and think about the day the sap would start running….
I had finally done it. After years of scheming and dreaming, I finally put hammer to nail and built myself an honest to goodness sugar shack. The extra touches, though not at all necessary really add to the look and feel of the building.
And for those wondering, the sap did finally start to run, and I tapped 25 trees and was able to make about 6 gallons of delicious maple syrup. Everything in the shack worked out really well, from the evaporator, to all the work surfaces, to the running water and even the cupola doors.
These days, when I look out over the back yard while enjoying my morning coffee, it almost looks like a scene from New England. The extra touches and extra dollars that went along with them were definitely worth it. I’ve done a lot of building over the years, but I can honestly say that nothing was as fun and as rewarding as my old timey sugar shack.
Resources used in this phase of construction:

Armor Building Supply - Metal Roofing

Crocker's Ace Hardware - Chimney Install

Jay E. Potter Lumber Company - Rough Cut Hemlock

M.C.M. Natural Stone - Soapstone Countertops

Mason Custom Welding - Maple Syrup Evaporator